We have come to the final part of this tutorial series. The actual game thread. This is where the “fun” happens. Unfortunately, I should say this already, I’ve purposefully made this a rather dull game. A small ball that you can move around the screen, scoring points by hitting the side walls, and ending the game by moving out of the top or bottom of the screen. The reason for this is that *YOU* should innovate here. You can go and see what I’ve done up until now here, I hope you’ll test them out, and (if you like them) give feedback on the games on the market, but what I’d really enjoy seeing is somebody creating other games based on this. Please if you do, go ahead, and make a comment on this blog post about it, who knows, others might see it and download your game as well 😉
Hiho – enough words from “the sponsor”, i.e. me. Lets get on with it.
First of all create the GameThread class, it should extend the thread class.
public class GameThread extends Thread
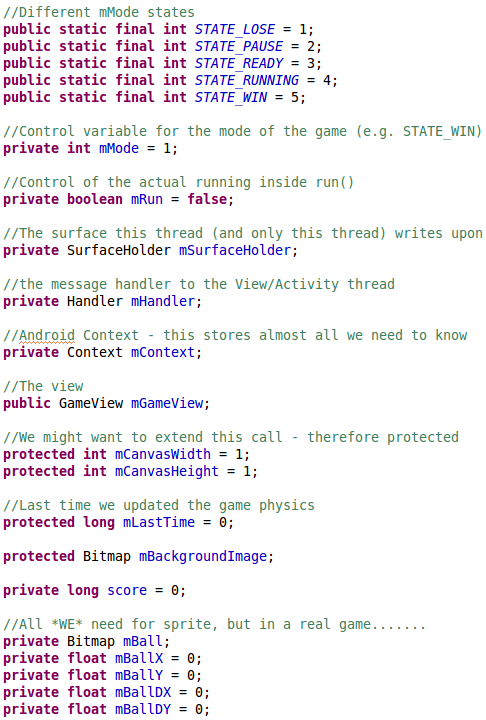
Next add these attributes:
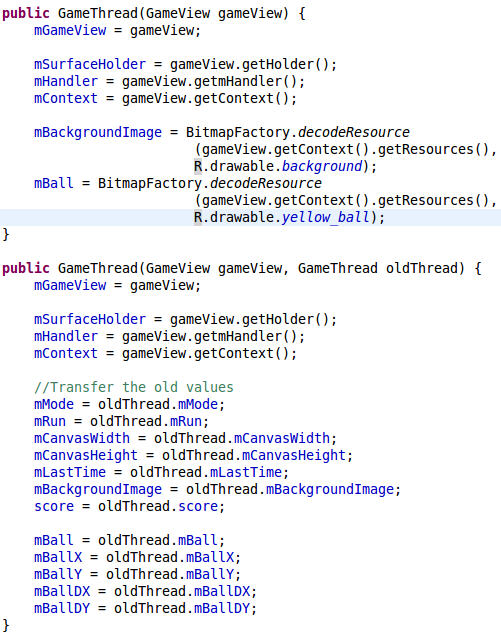
Most of these are explained through the comments, or will become obvious late in this part. The mMode is the states that we have frequently used in the previous parts of the tutorial. Next we construct the GameThread, we need two, because GameView.surfaceChanged() needs two different ones:
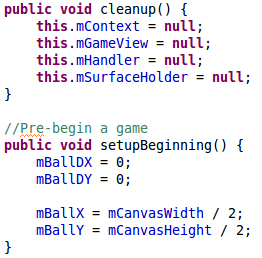
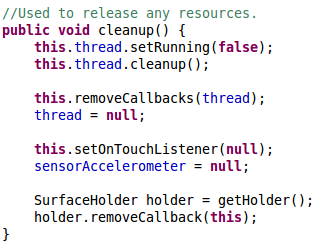
Notice how we use the BitmapFactory class to decode resources from R.drawable, and that we just use the old mBall attribute to get the bitmap in the new GameThread when we have an old thread available. Otherwise nothing new to see here, and cleanup() is also quite mundane now:
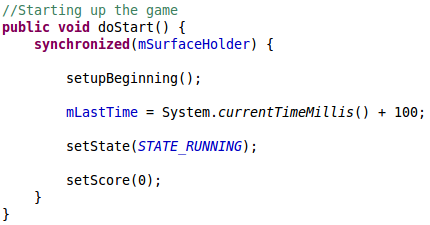
so lets introduce the first gaming method. We just setup a ball with no initial movements in the middle of the canvas. This method is called by the doStart() method,
which prepares the game state and set the mode to running.
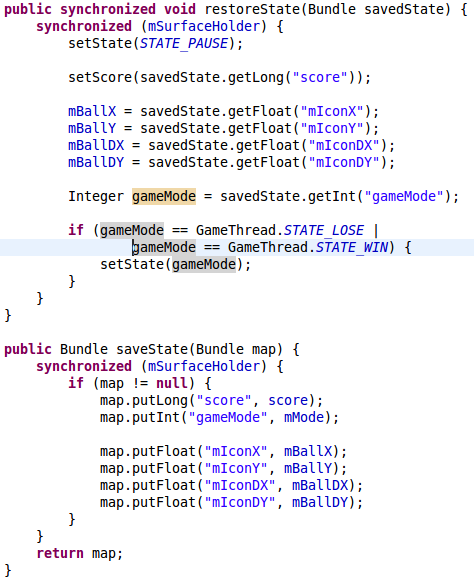
Earlier in GameActivity we set up a system to save and restore states. This system needs these two methods:
Notice how the Bundle class is used to save and restore the values of the class attributes.
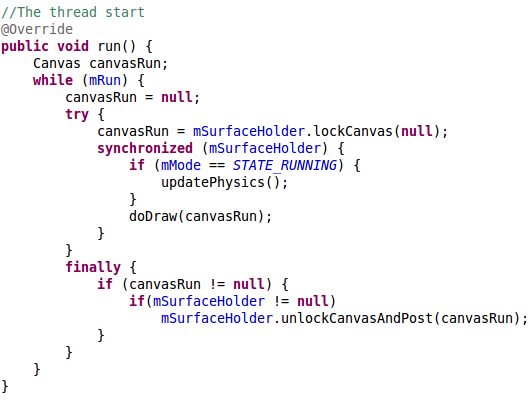
The most important part of a game is the game loop:
This loop runs until mRun is false, which can happen in setRunning(). We synchronize on the mSurfaceHolder to avoid multiple draws (don’t mind if you don’t get this), and then update the physics and draw on the canvas, and that is basically all that is needed to run a game.
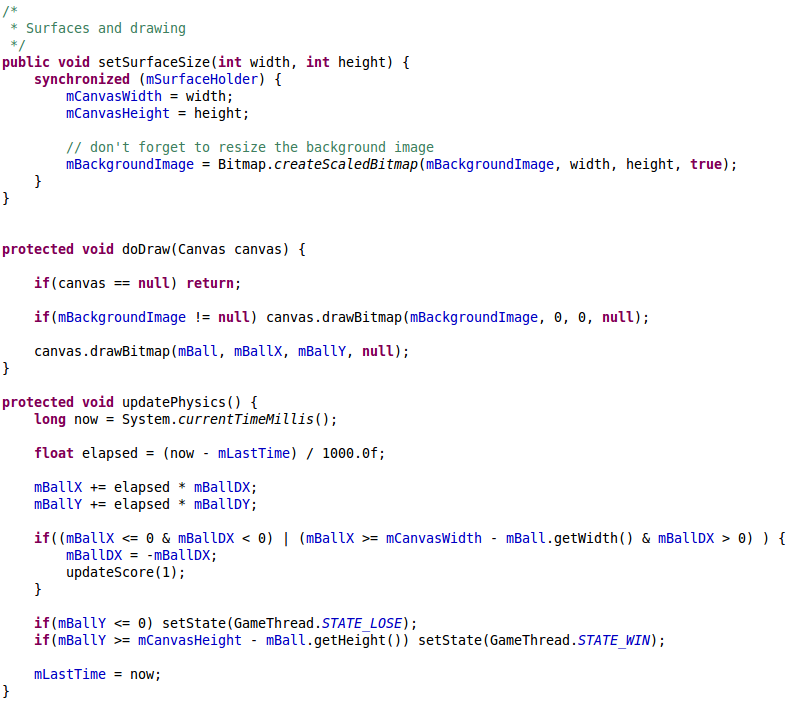
The setSurfaceSize() is called before the game is started and sets up an appropriately sized background. doDraw() simply takes the background bitmap and and ball bitmap and draw them on the canvas. The updatePhysics moves the ball using the DX and DY values. Notice that the elapse time between updates are used to ensure a correct size of the move. The “game logic” has also been put here, with an update of the score (updateScore() will be created later) , and checks to see if the game is won or lost.
The user interface control methods are
The onTouch() is there to allow starting the game, and it is prepared for in game interaction as well. The onSensorChanged() method is called every time the sensor changes, and just changes the ball’s DX and DY values.
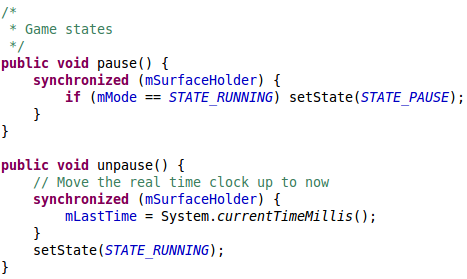
To manage the different states the game can be in, the following methods are created
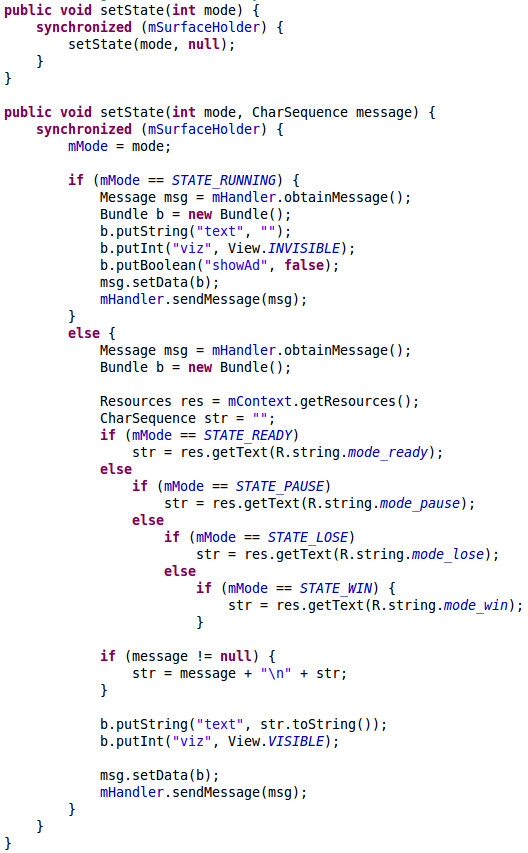
and the setState methods manages changes in states and sends messages to GameView to display messages to the user
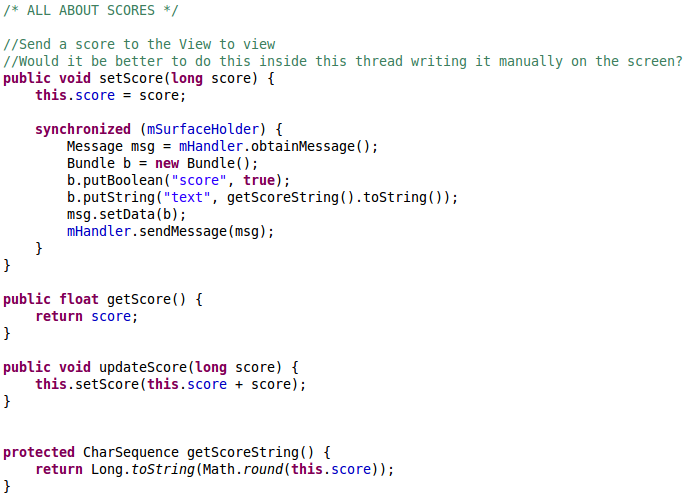
Handler.sendMessage is used to send the message to GameView. This method is also used to send scores to GameView:
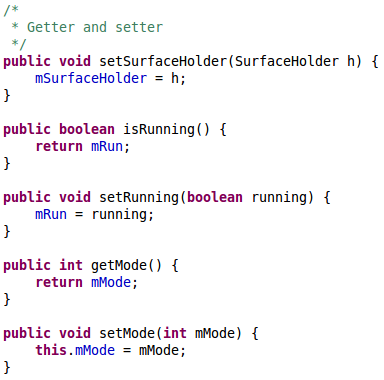
and last we create a few getters and setters
and that is it, the game is finished! I almost forgot, you can get the GameThread.java file for your convenience. Now you can test if it works in the emulator, unfortunately within the emulator the accelerometer won’t work (unless you set it up using this method), so if you want to test using touchscreen just change the actionOnTouch() method and use the MotionEvent object to get hold of x and y coordinates. Obviously if you have an Android phone you can just use that for debugging…
Please let me know if you find any mistakes in this tutorial. Otherwise,
THE END
 = mCanvasWidth – mBall.getWidth() & mBallDX > 0) ) { mBallDX = -mBallDX; updateScore(1); } if(mBallY <= 0) setState(GameThread.STATE_LOSE); if(mBallY >= mCanvasHeight – mBall.getHeight()) setState(GameThread.STATE_WIN); mLastTime = now; }” width=”790″ height=”705″ />
![Control functions /* * Control functions */ //Finger touches the screen public boolean onTouch(MotionEvent e) { if(e.getAction() != MotionEvent.ACTION_DOWN) return false; if(mMode == STATE_READY || mMode == STATE_LOSE || mMode == STATE_WIN) { doStart(); return true; } if(mMode == STATE_PAUSE) { unpause(); return true; } synchronized (mSurfaceHolder) { this.actionOnTouch(e); } return false; } private void actionOnTouch(MotionEvent e) { //TODO do something } //The Accellerometer has changed public void onSensorChanged(SensorEvent event) { synchronized (mSurfaceHolder) { if (event.sensor.getType() == Sensor.TYPE_ORIENTATION) { mBallDX -= 1.5f*event.values[2]; mBallDY -= 1.5f*event.values[1]; } } }](http://oster-lundqvist.com/karsten/wp-content/uploads/2011/06/control-functions.png)




 arg0) { // Do nothing if nothing is selected }” width=”539″ height=”615″ />
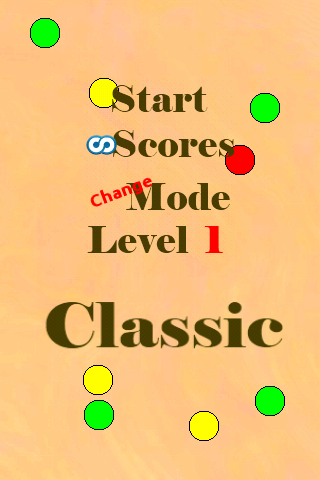
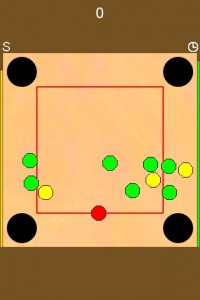
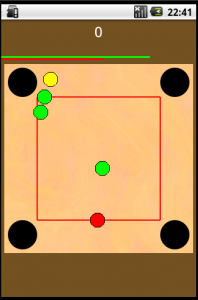 The game development is moving along, and I’m almost getting ready for release. The game is now a real game, or actually several – I’m only showing one at the moment, which will changes before release. It has got real scoring, and a timing mechanics (a set time to play which gets some added time for each correctly pocketed ball) which for me wants me play it again! Luckily!! I think it is important that a developer wants to play his own game…